How-to
How to replace a pressed cane seat, step by step
Remove the old spline and cane, clean the groove, soak, wedge in new cane webbing, glue in new spline and let it dry overnight, plus common mistakes.
Updated
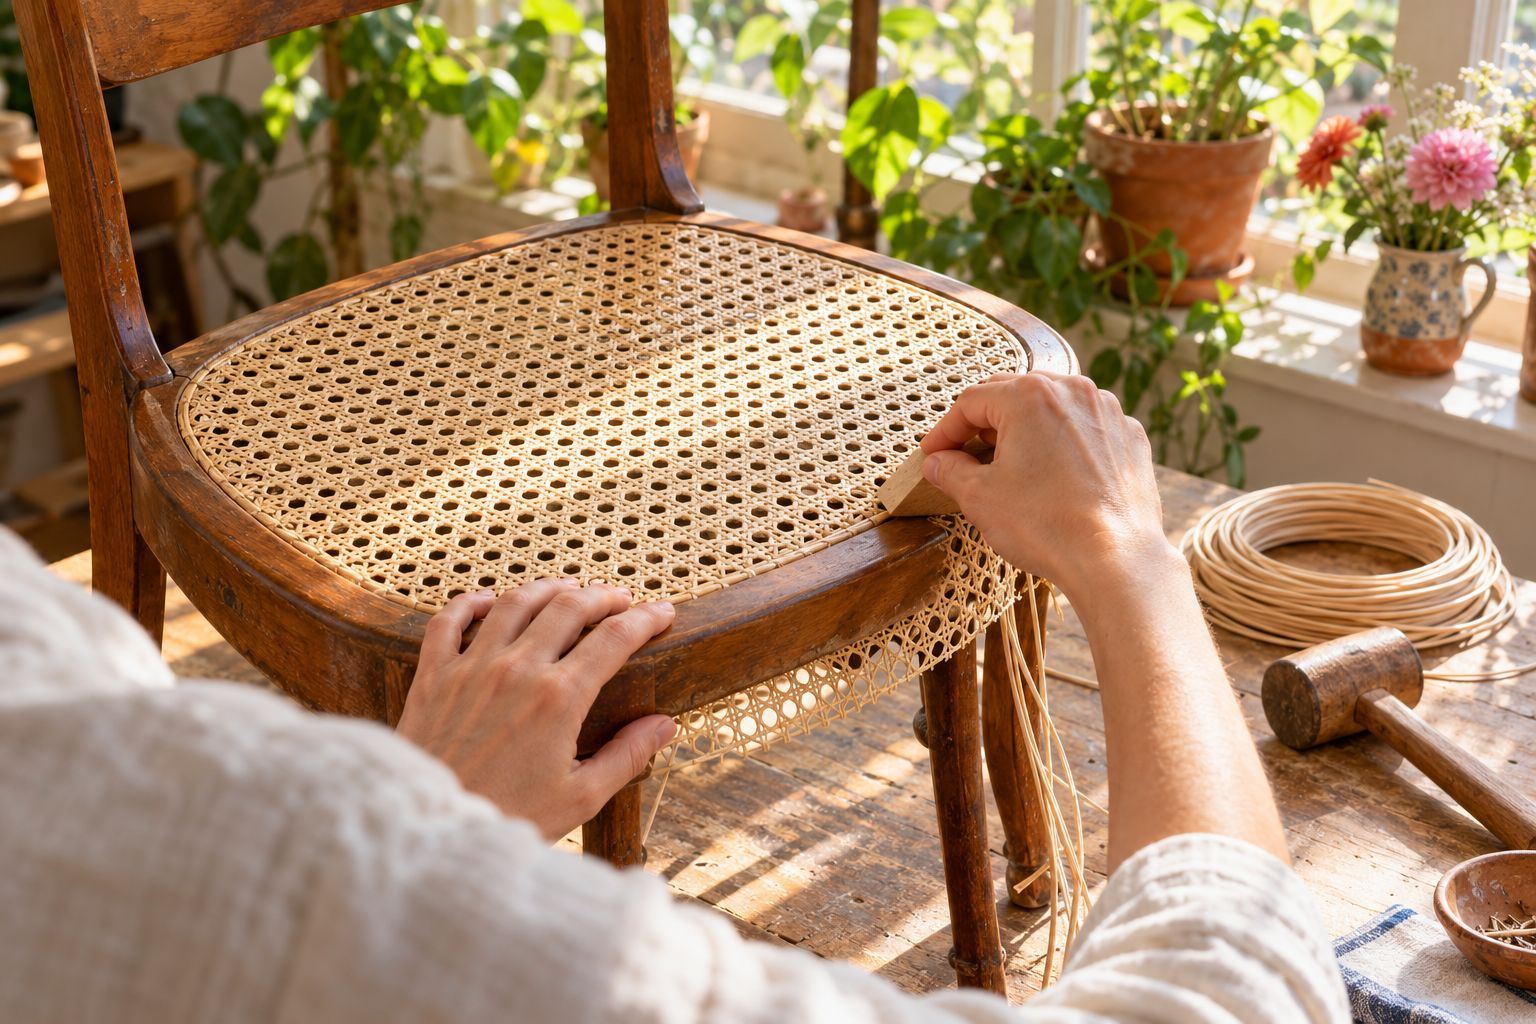
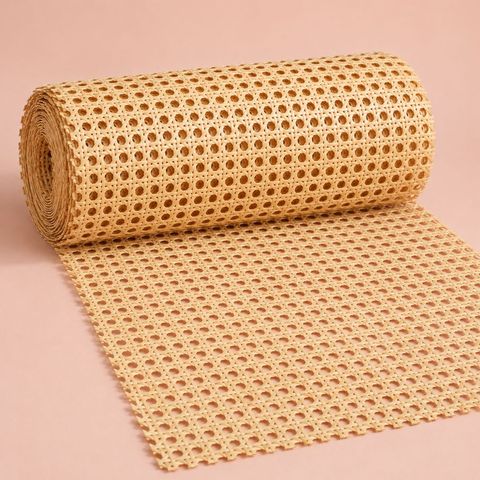
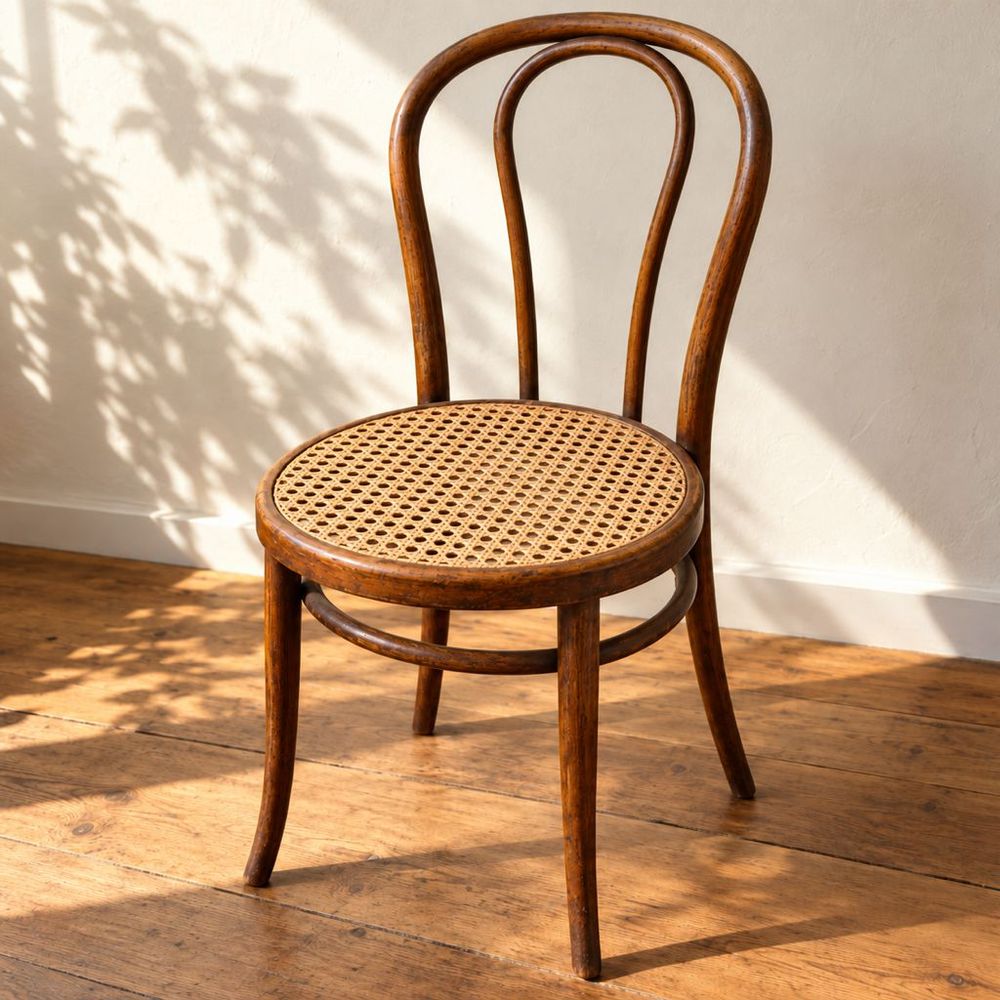
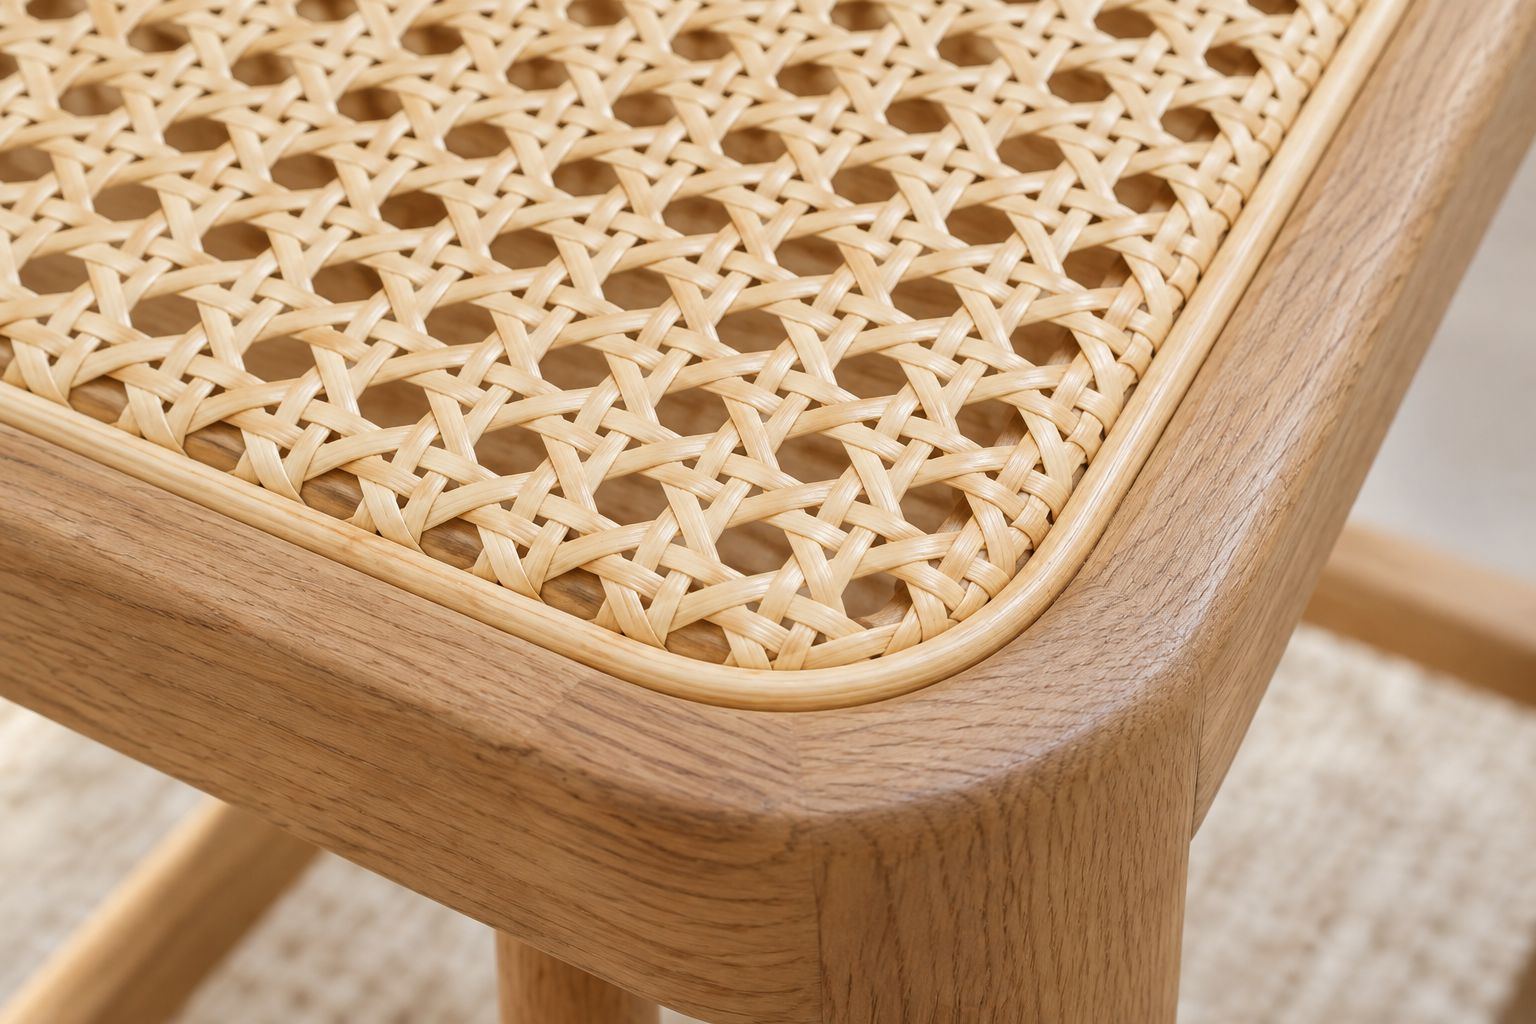
A pressed cane seat is one sheet of machine-woven cane webbing pushed into a groove around the seat and locked in with reed spline. When it tears or sags past saving, you replace the whole sheet. A first-timer can do it in a day: an hour or two of hands-on work, some soaking time, and an overnight dry.
First check that your chair really is pressed cane. Look at the edge of the seat. If you see a rounded strip of spline sitting in a channel, this guide is for you. If you see a row of drilled holes, the chair is hand-caned; see cane webbing vs hand caning.
What you need
Materials
- Cane webbing, at least 2 in wider and longer than the seat measured from the outer edge of the groove
- New reed spline in your groove size, the groove length plus 6 in
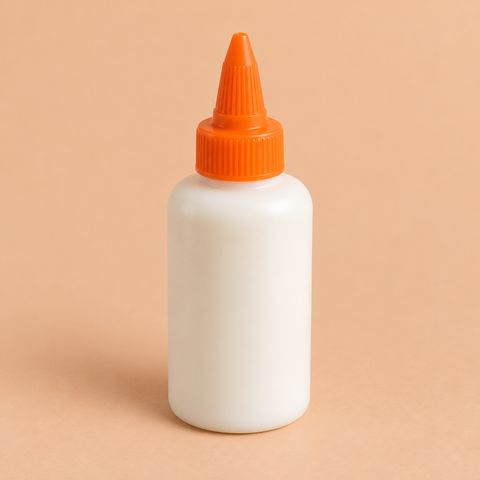
- PVA wood glue
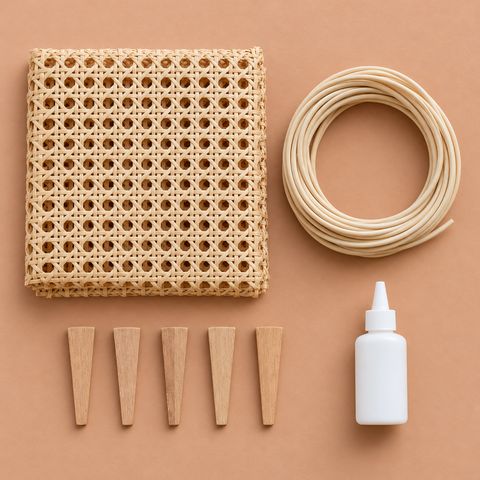
The chair seat caning kit has all three, plus 5 hardwood wedges.
Tools
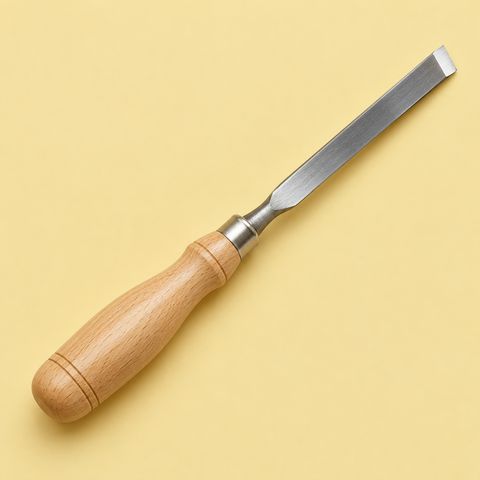
- A caning chisel, blade matched to the groove or one size smaller
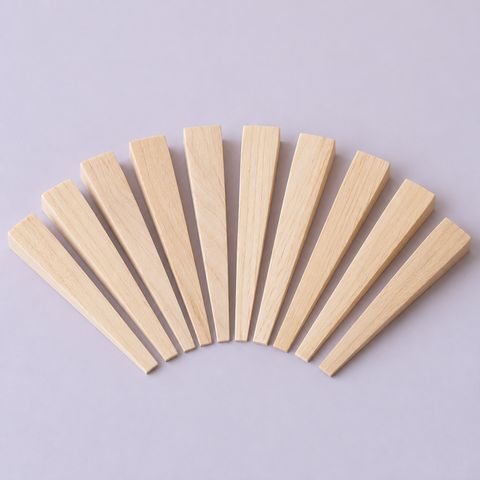
- 4 to 8 hardwood wedges
- A mallet or hammer
- A utility knife with a fresh blade, and a sharp wood chisel
- A tub, sink or bathtub of warm water, and old towels
- A spray bottle of warm water, and white vinegar for stubborn glue
- Fine sandpaper, a vacuum, a damp rag, a tape measure and string
The kit does not include the knife, mallet or chisel. The pressed caning tool set has the chisel and extra wedges.
Step 1: Cut out the old seat
Run a utility knife around the inside edge of the old spline to cut the cane free, and lift out the middle. Now only the spline and the cane edges trapped under it are left in the groove.
Step 2: Soften the old glue
Put a towel under the chair. Dribble or spray warm water along the spline. For stubborn glue, use a 50/50 mix of white vinegar and warm water. Wait about 30 minutes.
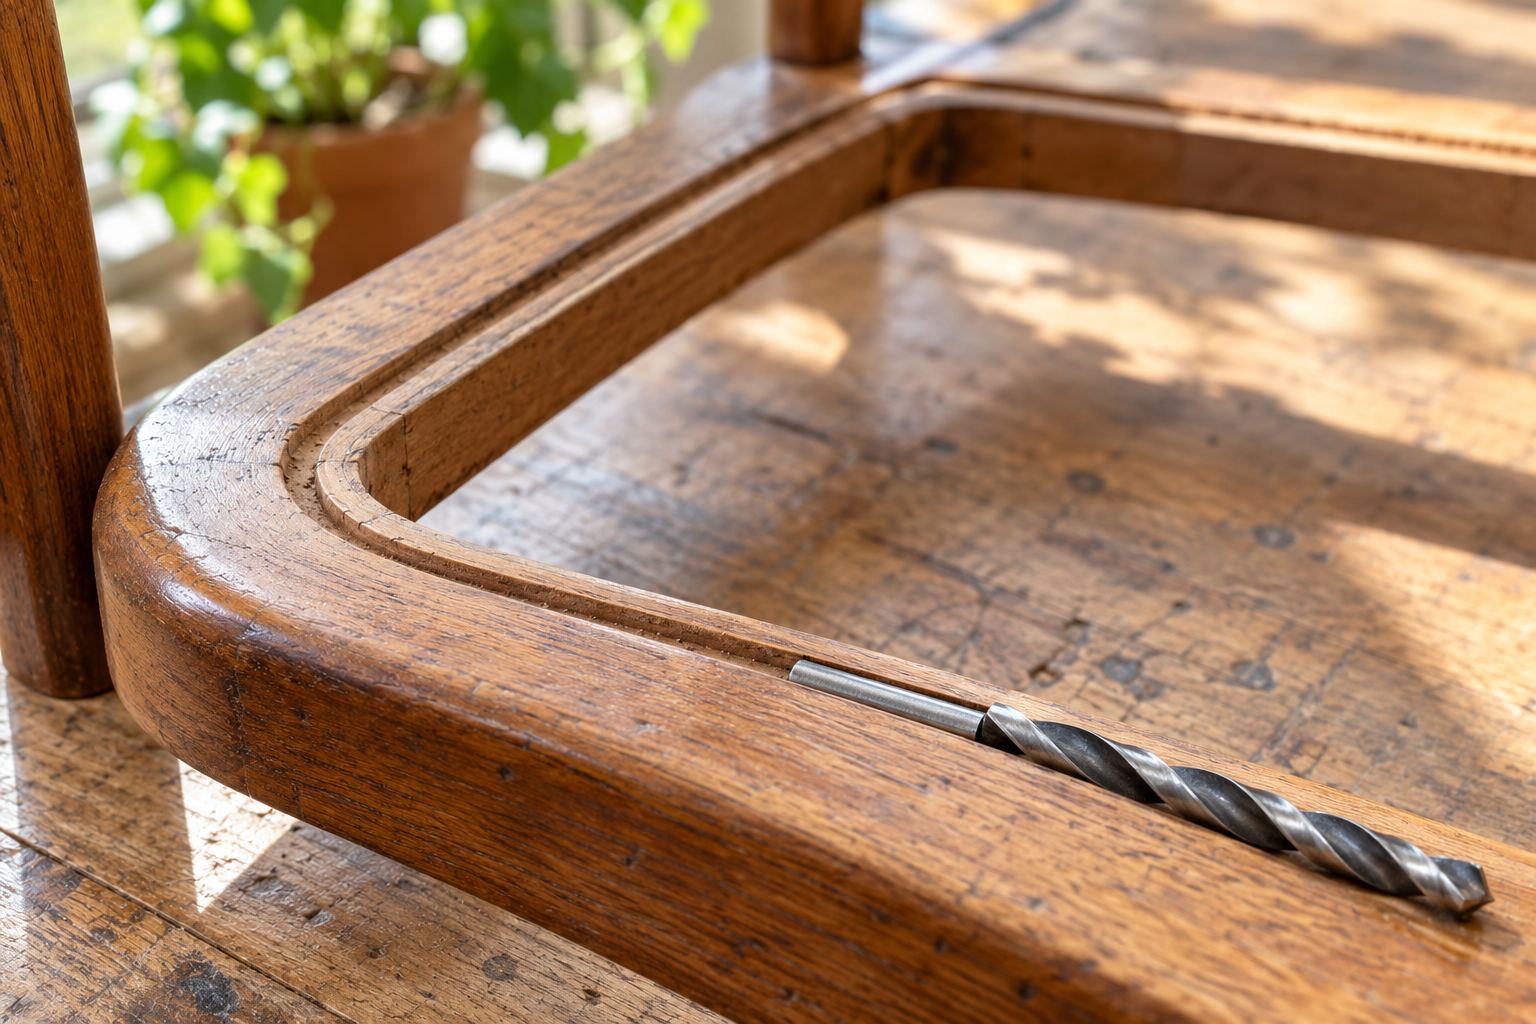
If the spline still will not move, drill a few shallow holes into the top of it every inch or two, no deeper than the spline, so the liquid can soak in. Wet it again and wait.
Step 3: Lift out the old spline
Start at the joint, usually at the center of the back. Set the caning chisel on top of the spline and tap it down, then rock it to lift the spline out. It will come out in pieces; that is normal. Work along the groove a little at a time.
Keep the chisel in the spline, not against the groove walls. Prying against the wood chips the edges and widens the groove, and then new spline will not fit well. Pull out the old cane edges as you go.
Step 4: Clean and dry the groove
Scrape out every bit of old glue and cane, down to bare wood, using the chisel, an awl or a small screwdriver. Vacuum the groove. If you used water or vinegar, let it dry fully, since leftover vinegar weakens new glue.
Lightly round over the top inside edge of the groove with fine sandpaper so it does not cut the cane as it tightens. Do not widen or deepen the groove.
Now measure. Check the groove width for the spline size, the groove length for the spline length, and the seat for the cane size. Our guide to measuring a spline groove and the reed spline size chart walk you through it.
Step 5: Cut the cane to size
Lay the webbing flat, shiny side up. Cut it to size along a straight row of strands so the edges run true. Mark the front edge with a small piece of tape.
Step 6: Soak the cane and spline
Submerge the cane in warm water for about 30 minutes, weighing it down so it stays under. Put the spline in for the last 10 to 15 minutes. Wet cane is soft and bends into the groove without cracking. Do not leave it soaking for hours; 30 minutes is plenty.
Step 7: Lay the cane shiny side up and square it
Let the cane drip for a moment, then lay it over the seat, shiny side up, with roughly equal overhang all round. Line up one straight row of strands with the front rail. Step back and look from the front: the rows should run straight front to back and side to side.
A crooked pattern is the most visible mistake there is, and it cannot be fixed once the spline is in. Take the time here.
Step 8: Wedge the cane into the groove
- At the center of the back rail, set a wedge on the cane over the groove and tap it down until the cane reaches the bottom. Leave the wedge in.
- At the center of the front, pull the cane gently toward you so it is snug but not stretched hard, and wedge it.
- Do the same at the center of each side. Check the pattern again.
- Work outward from the centers toward the corners, a few inches at a time, moving wedges along as you go. Alternate sides so the pattern does not drift.
- Go round two or three times, pushing a little deeper each pass, until the cane sits at the bottom of the groove all the way round. Do the corners last.
If the cane starts to dry and stiffen, mist it with the spray bottle.
Step 9: Trim the excess
With the cane pushed down, cut off the overhang just below the top outer edge of the groove. Use a sharp chisel or utility knife and angle the blade down into the groove. The cut ends must sit low enough for the spline to cover them. Pull the waste strip away.
Step 10: Glue the groove
Run a thin, steady bead of wood glue into the groove, on top of the cane, all the way round. You want enough to coat the groove, not so much that it floods out when the spline goes in.
Step 11: Drive in the new spline
- Wipe the spline and cut one end at an angle.
- Starting at the center of the back rail, lay the spline crown up over the groove and tap it in with a wedge or a block of wood under the mallet. Work a few inches at a time.
- At rounded corners, bend the wet spline around with the groove. At sharp square corners, cut the spline and join the two pieces with matching angled cuts.
- When you get back to the start, overlap the ends, cut the second end at a matching angle so the two meet tight, and tap the joint down.
- Go round once more and tap the whole spline until the crown sits flush with the seat.
Step 12: Clean up and let it dry overnight
Wipe off any glue that squeezes out right away with a damp cloth. Dried glue leaves shiny patches on the cane.
The cane will look slack and maybe a little wavy. That is normal: it shrinks and tightens as it dries. Leave the chair overnight at room temperature, away from heaters and direct sun. Give it a full 24 hours before anyone sits on it. If you want a clear finish or stain, apply it only after the seat is completely dry, and test it on an offcut first.
Common mistakes
- Wrong spline size. Usually from measuring over old glue or trusting an old packet number. Measure the clean groove.
- Shiny side down. The dull side is the back.
- Crooked pattern. Square the rows to the front rail before the first wedge goes in.
- Prying against the groove walls. It chips the edge and widens the groove.
- Cane cut too small. Measure from the outer edge of the groove, not the inside.
- Trimming too high. Cut ends poke out beside the spline. Cut just below the top outer edge.
- Too much glue. It floods onto the cane and dries shiny.
- Letting the cane dry mid-job. Dry cane cracks where it bends into the groove. Keep a spray bottle handy.
- Hitting the spline with a bare hammer. It dents the crown. Use a wedge or block.
- Sitting too soon. Wait the full 24 hours.
If the seat sags later
A seat can loosen over the years. Wipe the underside with a damp cloth, without soaking it, and let it dry; the cane often tightens again. More tips are in our cane furniture care and repair guide.
Ready to start? Find webbing in cane webbing, complete sets in caning kits, and chisels and wedges in caning tools.