How-to
How to weave a fiber rush seat on a ladderback chair
Weave a fiber rush chair seat: fill the front corners, the basic corner wrap, cardboard stuffing, sealing with shellac, and 5/32 vs 6/32 vs 7/32.
Updated
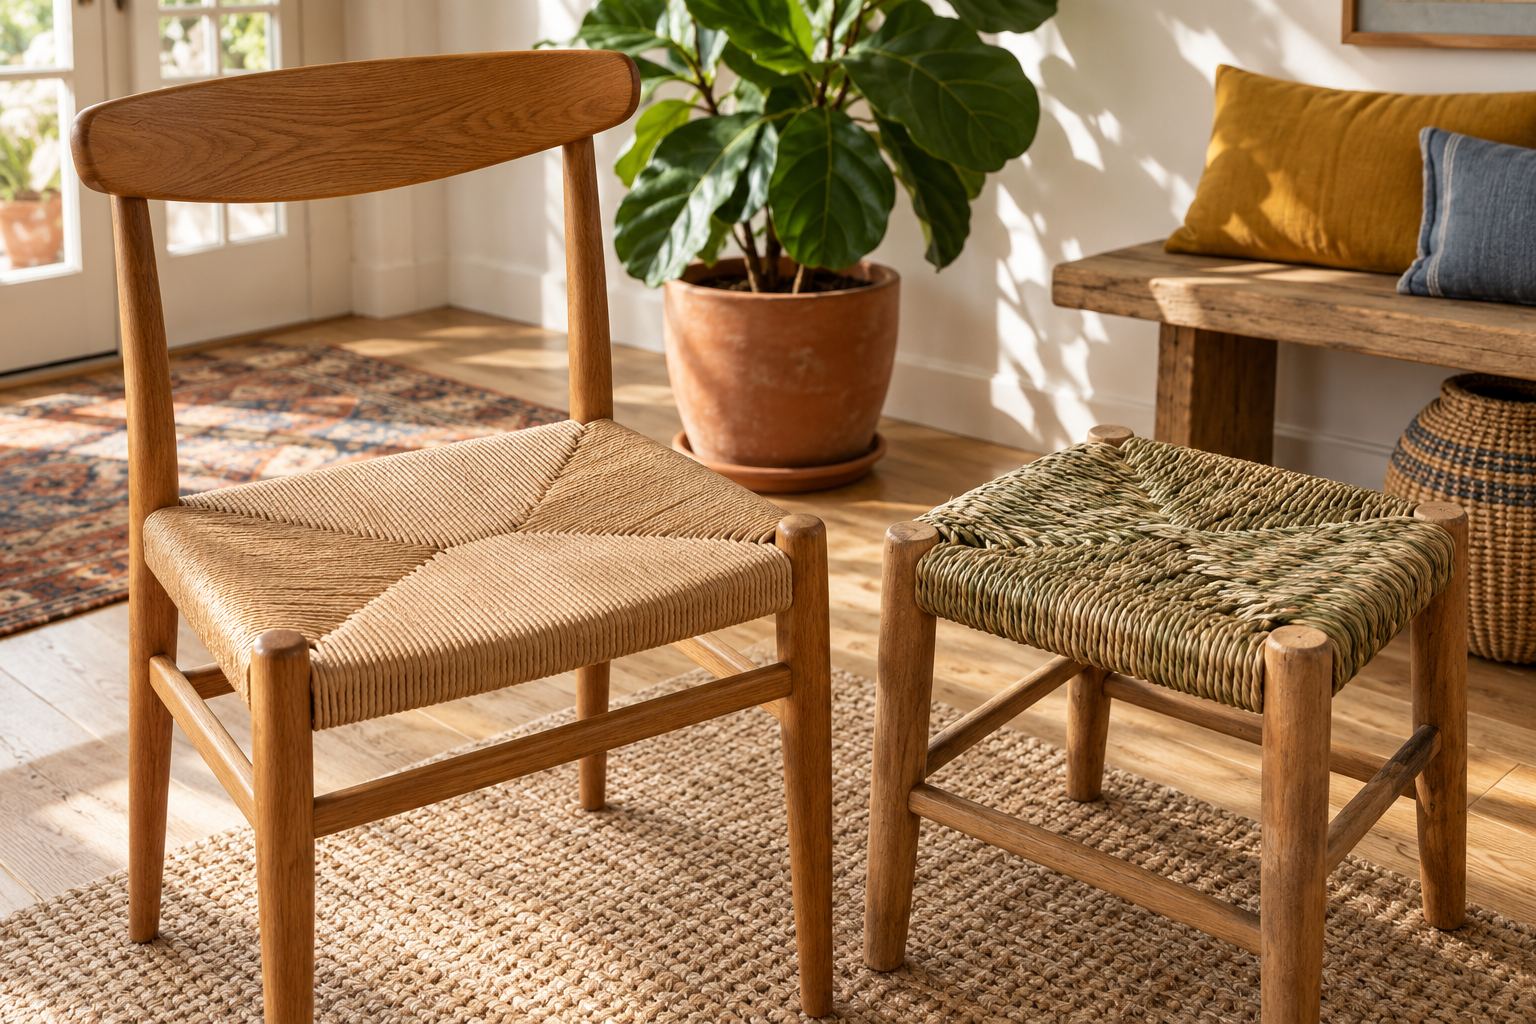
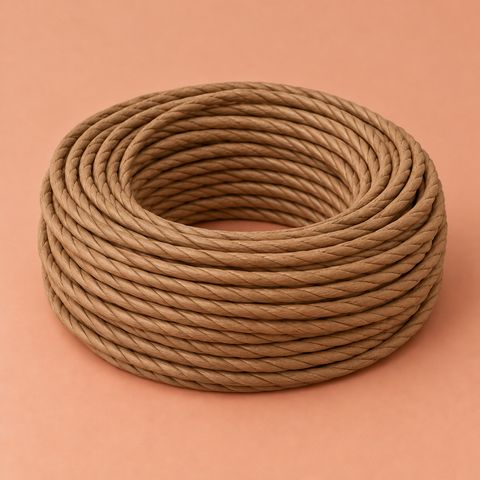
Fiber rush is kraft paper twisted into a tight, round cord that looks like the cattail rush used on country chairs for centuries. It is woven around the four seat rails of a ladderback or farmhouse chair, wrapping each corner in turn until the weave meets in the middle. It is woven dry, needs only simple tools, and makes a good first seat-weaving project.
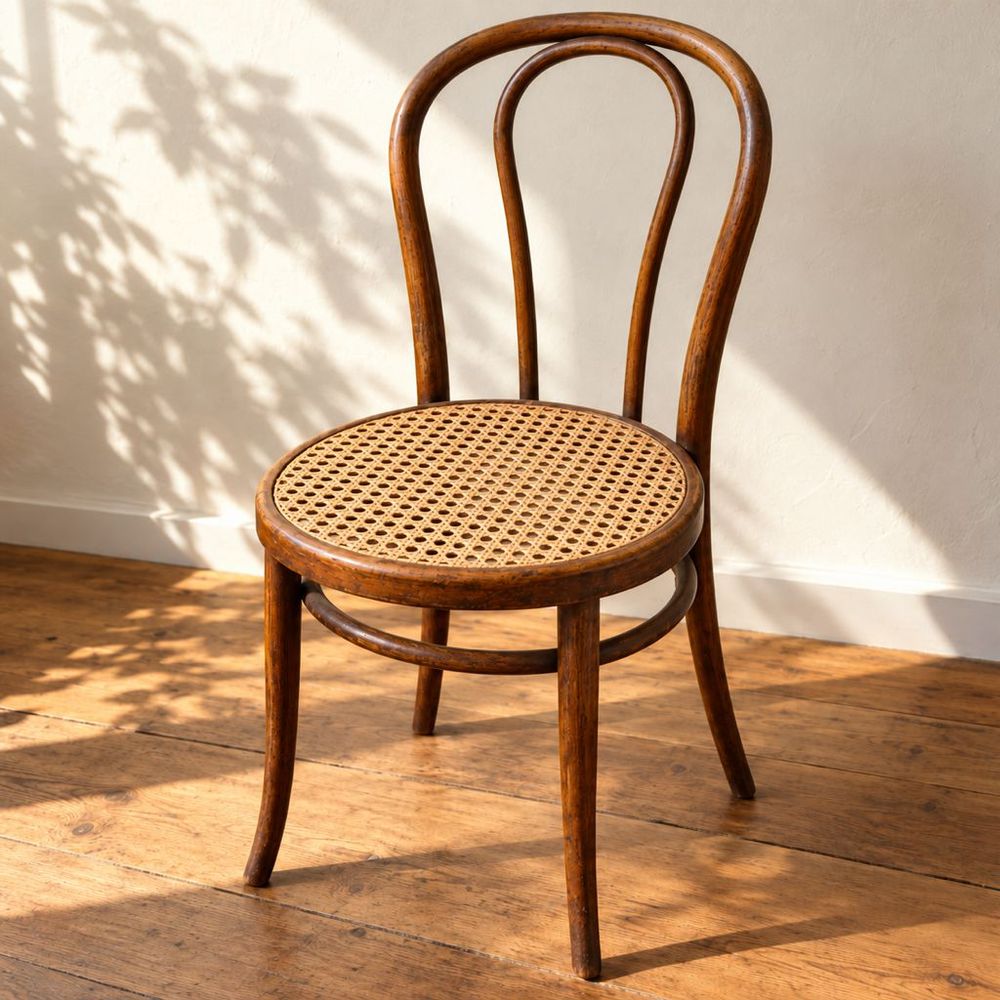
Fiber rush suits chairs with four round or rounded rails and legs that rise above the rails at the corners. A chair with a row of holes is hand caned (hand caning a chair seat), and one with a groove takes pressed cane (how to replace a pressed cane seat).
Choose the size: 5/32, 6/32 or 7/32
The size is the thickness of the cord in 32nds of an inch.
| Size | Best for |
|---|---|
| 4/32 in | Small, delicate chairs, stools and miniatures |
| 5/32 in | Finer chairs and antiques; the easiest to pack tight on a first seat |
| 6/32 in | Full-size ladderback and farmhouse chairs |
| 7/32 in | Large, rustic chairs; covers a seat faster |
Thinner rush takes more rounds, so it takes longer, but it packs tighter and is easier to pinch square at the corners. Thicker rush covers faster but is stiffer, and gaps are harder to close. If the chair belongs to a set, match the old rush: measure it, or count the rows in an inch along a rail.
How much you need
A 2 lb coil typically does one average seat. That is about 350 ft of 5/32 in or about 280 ft of 6/32 in. Wide or deep seats take more. Seats vary, so for a large chair or a set, order the extra coil with the first one so the color matches.
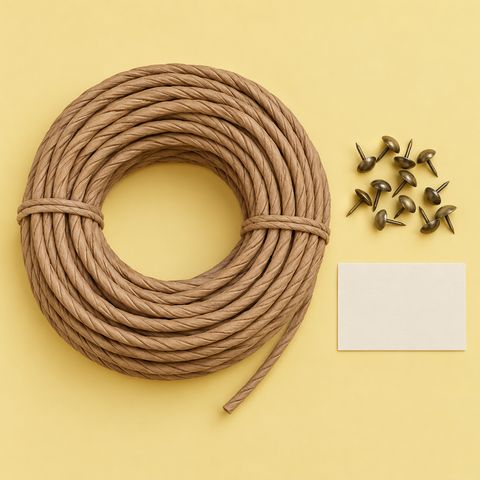
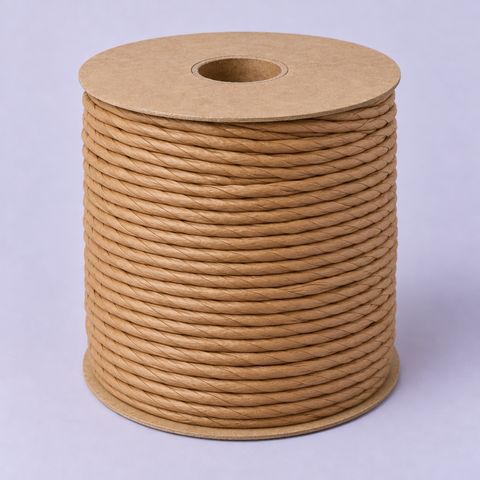
Our fiber rush seat kit has a 2 lb coil, 10 upholstery tacks and a printed pattern card. Fiber rush comes in 4/32 to 7/32 in, and the 10 lb reel of 7/32 in is for chair shops and sets.
Tools
- Upholstery tacks or a staple gun, and a small hammer
- A spring clamp to hold tension while you rest or tie on
- A carpenter’s square and a pencil
- Scissors
- A blunt wooden stick or an old flat screwdriver to pack rows tight
- Corrugated cardboard
- Shellac, denatured alcohol and a brush for finishing
Do not soak fiber rush. It is paper: wet, it softens and loses its twist.
Step 1: Measure and mark the seat
Most rush-seat chairs are wider at the front than at the back. Before the regular pattern can start, the seat has to be squared up by filling the two front corners.
- Measure the back rail between the legs, and the front rail between the legs.
- Subtract. Half the difference is the amount to fill at each front corner. For example, with a 16 in front rail and a 13 in back rail, the difference is 3 in, so you fill 1-1/2 in at each front corner.
- Mark the front rail. Hold a square against the back rail with its corner at the inside of a back leg, and draw a line onto the front rail. Repeat on the other side. The distance between the marks now equals the back rail.
If your seat is the same width front and back, skip to step 3.
Step 2: Fill the front corners
Fill the front corners with short strands, one at a time, each going around the two front corners only.
- Cut a strand long enough to cross the seat and wrap both front corners, with some to spare.
- Tack one end to the inside of the left side rail, close to the front leg.
- Wrap the front left corner: forward over the front rail, around under it and up through the seat opening, then over the left rail, around under it, and straight across to the right side.
- Wrap the front right corner as a mirror image, and tack the end to the inside of the right side rail.
- Repeat with the next strand, tacking each one just behind the last, until the rush on the front rail reaches your marks.
Pull every strand tight and pack it against the last one.
Step 3: The basic corner wrap
Now the opening is square and one long strand does the rest. Tack it to the inside of the left rail near the back leg, or just behind the last front-corner tack. At each corner:
- Go over the rail in front of you and around under it.
- Come up through the center opening.
- Go over the adjacent rail, crossing over the strand you just laid, and around under it.
- Come up through the center and go straight across to the next corner.
Repeat at all four corners, going around the seat in the same direction every time. Each corner turn makes a small right angle where the cord crosses itself, and those crossings build the four diagonal lines that run from the corners to the center.
Work with a strand about 20 to 25 ft long. Longer strands tangle. Keep the working length coiled with a rubber band and let it out as you go.
Joining a new strand
Tie the new strand to the old one with a square knot, placed underneath or inside the seat where a pocket hides it, never on top of a rail. Hold tension with the spring clamp while you tie.
Step 4: Keep it square and tight
- Pull each wrap snug, and pinch the cord at each corner turn before moving on.
- Pack the rows tight along the rails with the stick. Small gaps grow as the seat fills.
- Every few rounds, check the diagonal lines with the square. They should run straight from corner to center. If one corner gets ahead, pack the others to catch up.
Step 5: Stuff the pockets with cardboard
Between the top and bottom layers, each side of the seat forms a triangular pocket. Stuffing makes the seat firm and keeps the rush from sagging and wearing through at the inside edge of the rails.
Cut triangles of corrugated cardboard to fit each pocket, a little smaller than the woven area, and slide them in between the top and bottom layers from the center opening. Use a few layers per side, and keep the cardboard edges back from the rails so they do not show. Do this while the opening is still big enough for your hand, well before the center closes, and add more as the pockets grow.
Step 6: Finish the center
The shorter pair of rails fills first.
- Square seat. All four rails fill at about the same time, and you finish with corner wraps.
- Wider than deep. The side rails fill first. Once they are full, you can no longer turn corners. Go over the front rail and under it, up through the center opening, across to the back rail, over it and under it, up through the center again and back to the front. This figure-eight fills the remaining gap on the front and back rails.
- Deeper than wide. The front and back rails fill first; finish with the same figure-eight between the two side rails.
Pack the last rows tight, tack the final strand underneath to a rail, and tuck the end out of sight.
Step 7: Seal it
Sealing helps fiber rush resist wear and spills. Thinned shellac is the traditional choice: mix it about half and half with denatured alcohol and brush on two thin coats, letting each dry fully. Amber shellac gives a warm honey tone; clear keeps the color closer to the raw rush. A water-based clear finish also works. Try the finish on a scrap of rush first, since any finish darkens it a little.
For other seat materials, such as Danish cord and seagrass, see seat weaving.