How-to
Hand caning a chair seat: the seven-step method and size chart
How to hand cane a chair with holes: pick strand cane and binder by hole size and spacing, gather the tools, weave the seven steps, and plan the hours.
Updated
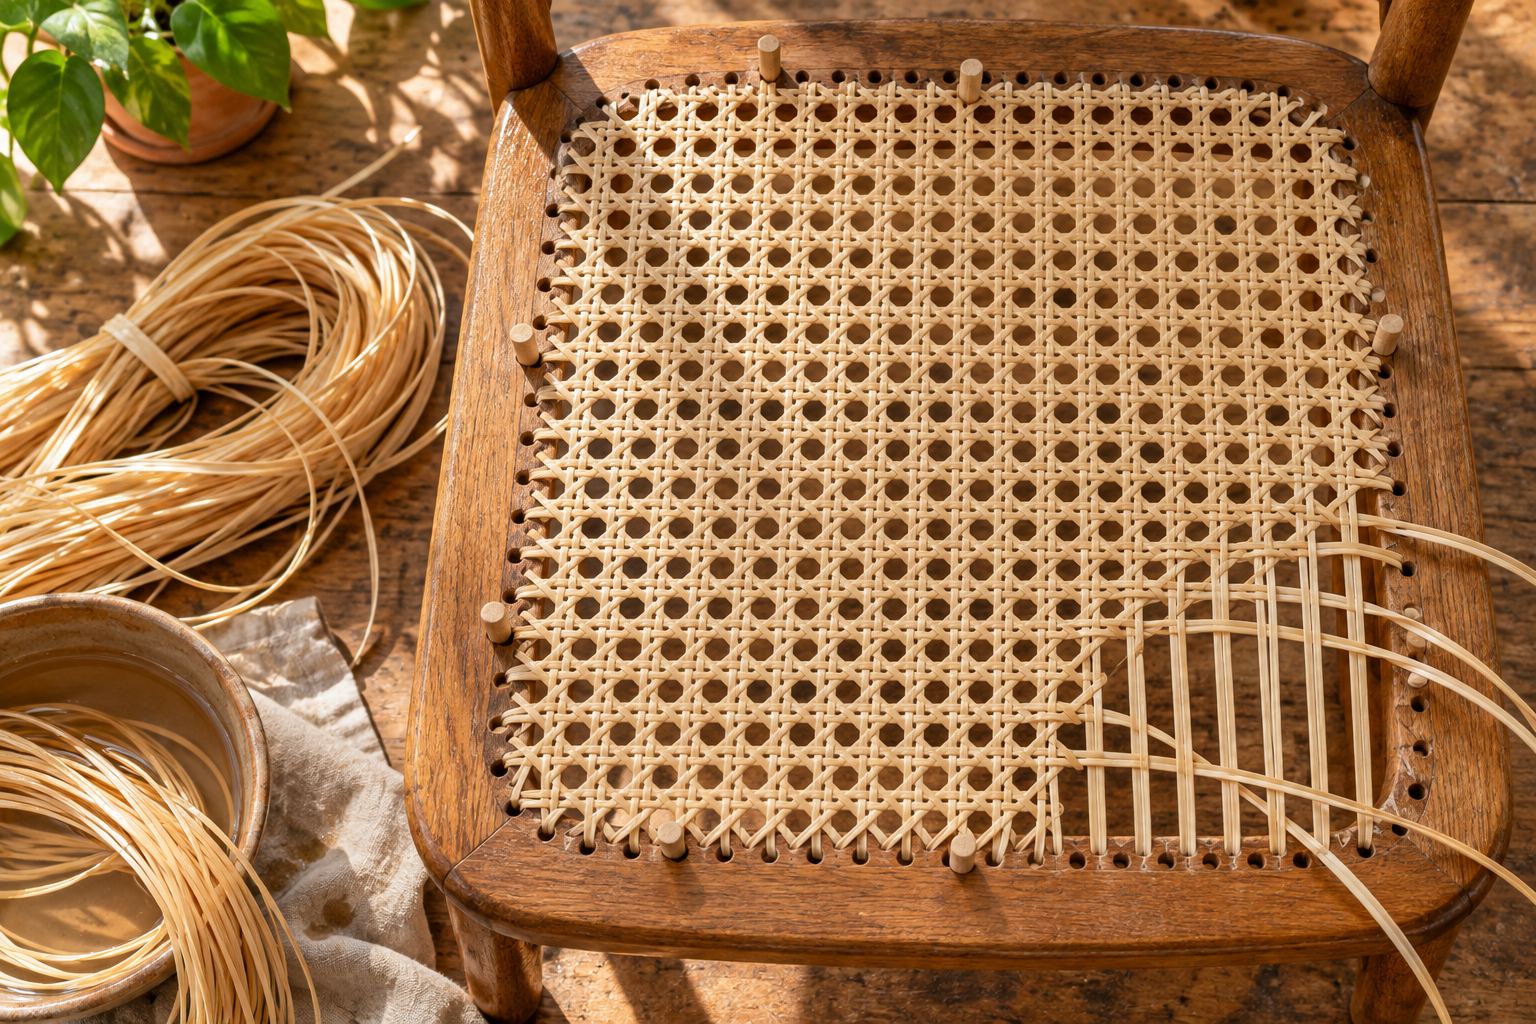
If your chair has a row of small holes drilled around the seat opening, it was hand caned, strand by strand through those holes. A chair with a groove instead takes a pressed cane sheet; see how to replace a pressed cane seat and cane webbing vs hand caning.
Hand caning is slow but not difficult. The traditional seven-step method repeats one simple move: down through one hole, up through the next. Real weaving does not start until step 4.
Choose the cane size
Strand cane comes in widths matched to the holes. Too wide, and the holes jam before the last steps; too narrow, and the seat looks thin.
Measure two things:
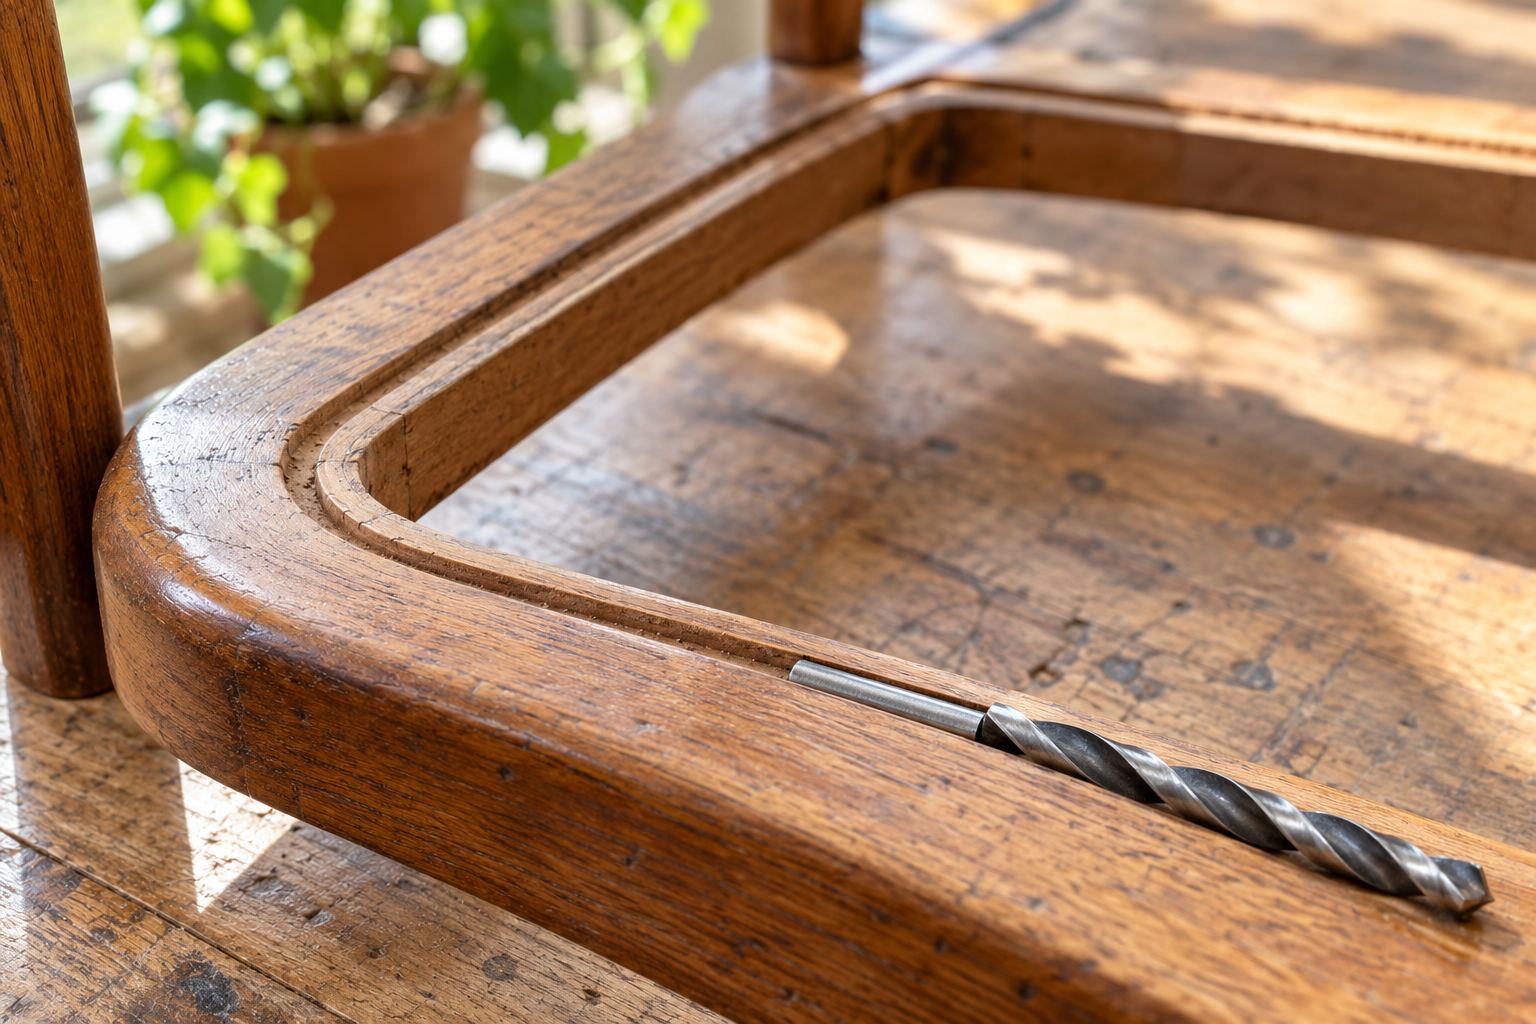
- Hole diameter. Use drill bits as gauges: the largest bit that slides into a hole gives its size.
- Hole spacing, center to center. Holes are rarely drilled evenly, so average them. Lay a ruler along a straight run, count the spaces between hole centers over 6 in, and divide 6 by that count. Eight spaces is 3/4 in spacing; twelve is 1/2 in.
Then find the closest row:
| Cane size | Width | Hole diameter | Hole spacing (center to center) |
|---|---|---|---|
| Superfine | 2 mm | 1/8 in | 3/8 to 7/16 in |
| Fine-fine | 2.25 mm | 3/16 in | 1/2 in |
| Fine | 2.5 mm | 3/16 to 7/32 in | 9/16 to 5/8 in |
| Narrow medium | 2.75 mm | 1/4 in | 5/8 in |
| Medium | 3 mm | 1/4 in | 3/4 in |
| Common | 3.5 mm | 5/16 in | 7/8 in |
Supplier charts differ slightly, mostly between fine and narrow medium. If your chair falls between two sizes, let the hole diameter decide: every hole takes several passes of cane, so small holes need the narrower cane. If you saved a piece of the old cane, match its width.
Binder
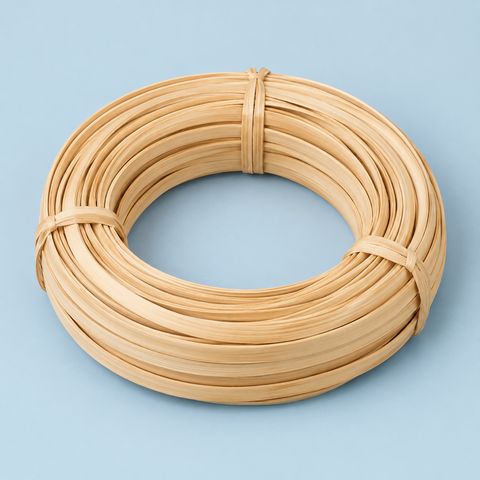
Binder is the wide strand laid around the edge at the end to cover the holes. Pick binder about two sizes wider than the seat cane. It comes 4, 5 and 6 mm wide. The 4 mm binder that comes with our 270 ft hanks suits most dining chairs; binder cane in 5 or 6 mm gives a heavier edge on large holes.
How much cane
A 270 ft hank does about one average seat. Large seats, armchairs and settees take more. For a set of chairs, a 1000 ft hank does about three to four average seats.
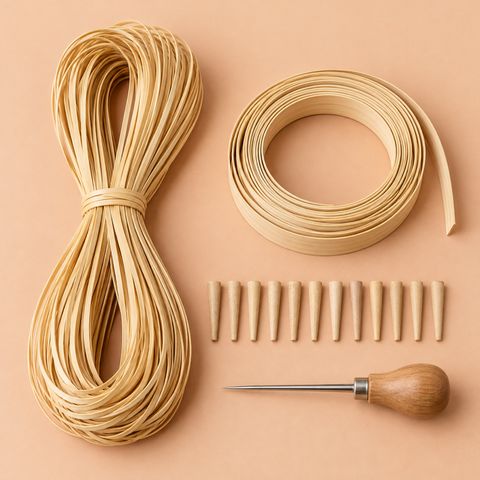
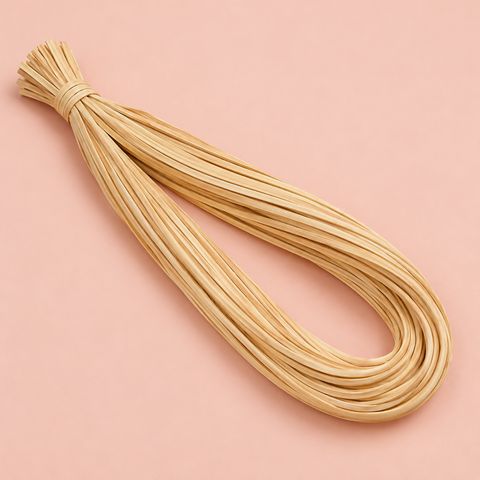
Our hand caning kit has a 270 ft hank in fine (2.5 mm), medium (3 mm) or common (3.5 mm), one strand of 4 mm binder, 12 wooden pegs and an awl. Strand chair cane by the hank comes in all six sizes from superfine to common.
Tools
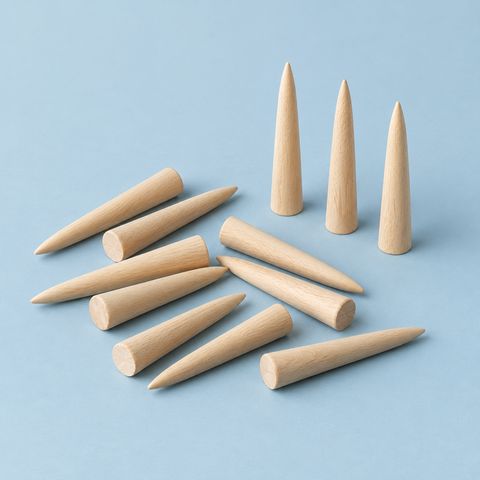
- Caning pegs, 10 to 12 in use at a time, to hold strands in the holes and keep tension. Golf tees work in a pinch.
- An awl to clear old holes, open a crowded hole in the later steps, and lift strands.
- Side cutters or sharp scissors, a ruler and a pencil.
- A shallow tray of warm water, a sponge and an old towel.
Prepare the chair
- Cut out the old cane just inside the frame.
- Push the old cane, pegs and binder out of every hole with the awl. Glued pegs may need drilling out by hand with a bit the size of the hole.
- Glue loose joints and repair cracks through the holes. Caning puts real tension on the frame.
- Refinish the wood now if it needs it.
- Sand sharp edges at the top and bottom of each hole so they do not cut the cane.
- Mark the center hole of the back rail and of the front rail.
Soak the cane
Pull a few strands from the hank without tangling the rest and coil each one loosely. Soak them in warm water for 10 to 15 minutes, only a few at a time; cane left in water for hours goes soft and discolors. Wipe the working strand with the sponge whenever it stiffens.
Keep the shiny side up on top of the seat at all times, and do not let the strand twist as it passes through a hole.
The seven steps
Each strand starts pegged in a hole, with a tail of a few inches left underneath for tying off later. When a strand runs out, peg its end and start a new one in the next hole.
Step 1: First verticals, back to front
Start at the center hole of the back rail. Run the cane across to the matching hole in the front rail, down through it, up through the next hole along, and back across to the back rail. Work out to one side, then return to the center and do the other side. The strands should run straight and parallel, and be just slightly slack. The weave tightens a lot in later steps.
On seats wider at the front than the back, the front corners have spare holes. Fill them with short strands from the side-rail holes, parallel to the others, and skip a hole where that keeps the lines straight.
Step 2: First horizontals, side to side
Run strands from side to side, laid on top of step 1. Still no weaving, and still a little slack.
Step 3: Second verticals
Repeat step 1 in the same holes, laid on top of step 2, just to one side of each step 1 strand.
Step 4: Second horizontals, the first real weaving
Use the same holes as step 2. This strand runs just in front of each step 2 strand and is woven: over each step 3 strand and under each step 1 strand. Dampen the seat with the sponge first so the cane slides. Weave about a third of the way across, pull the strand through, then do the next third.
When step 4 is done, push the strands into neat pairs with a peg or the awl: vertical pairs and horizontal pairs, with even square spaces between them.
Step 5: First diagonal
Start in a back corner and work toward the opposite front corner. The diagonal goes under one set of pairs and over the other, for example under the vertical pairs and over the horizontal pairs. Done right, it slips neatly into the corners of each square. If it catches and fights you, you are weaving it the wrong way round. Fill one half of the seat, then go back to the corner and fill the other half.
Corner holes usually take two diagonal strands so the lines stay straight. That is normal.
Step 6: Second diagonal
Now the other direction, starting from the other back corner, woven the opposite way: over the pairs step 5 went under, and under the pairs it went over. This locks the weave. Pull each strand firmly; it is the tightest step.
Step 7: Binder
Cut a length of binder for each side, plus a few inches. Push one end down into a corner hole and peg it. Lay the binder over the row of holes. With a strand of seat cane, come up through the first hole, over the binder and back down the same hole, then along underneath to the next hole. Repeat to the next corner. Where holes are close together, some caners do this at every other hole. Overlap or tuck the binder ends at the corners and peg the corner holes.
Tying off
Underneath, tie each loose end around a nearby loop of cane that runs between two holes: pass it under the loop, back through itself and pull tight while it is damp. Trim, leaving a short tail, and never tie across a hole you still need.
How long it takes
Experienced caners report about 6 to 12 hours for an average seat. Your first will take longer, so plan on several sessions, and dampen the cane each time you come back to it. Half-woven cane that has dried out cracks if you force it.
The most common first-seat mistakes: pulling steps 1 to 3 tight (they need slack, or the diagonals will not fit), letting strands twist, weaving cane that has dried out, and starting off-center.
The seat tightens as it dries; give it a day before anyone sits on it. To keep it that way, see cane furniture care and repair.