How-to
How to cane a cabinet door: shaker, slab and glass-front
Reface cabinet doors with cane: open the center panel, cut the cane 1 in oversize, soak it, glue and staple it to the back, then cover the edge with trim.
Updated
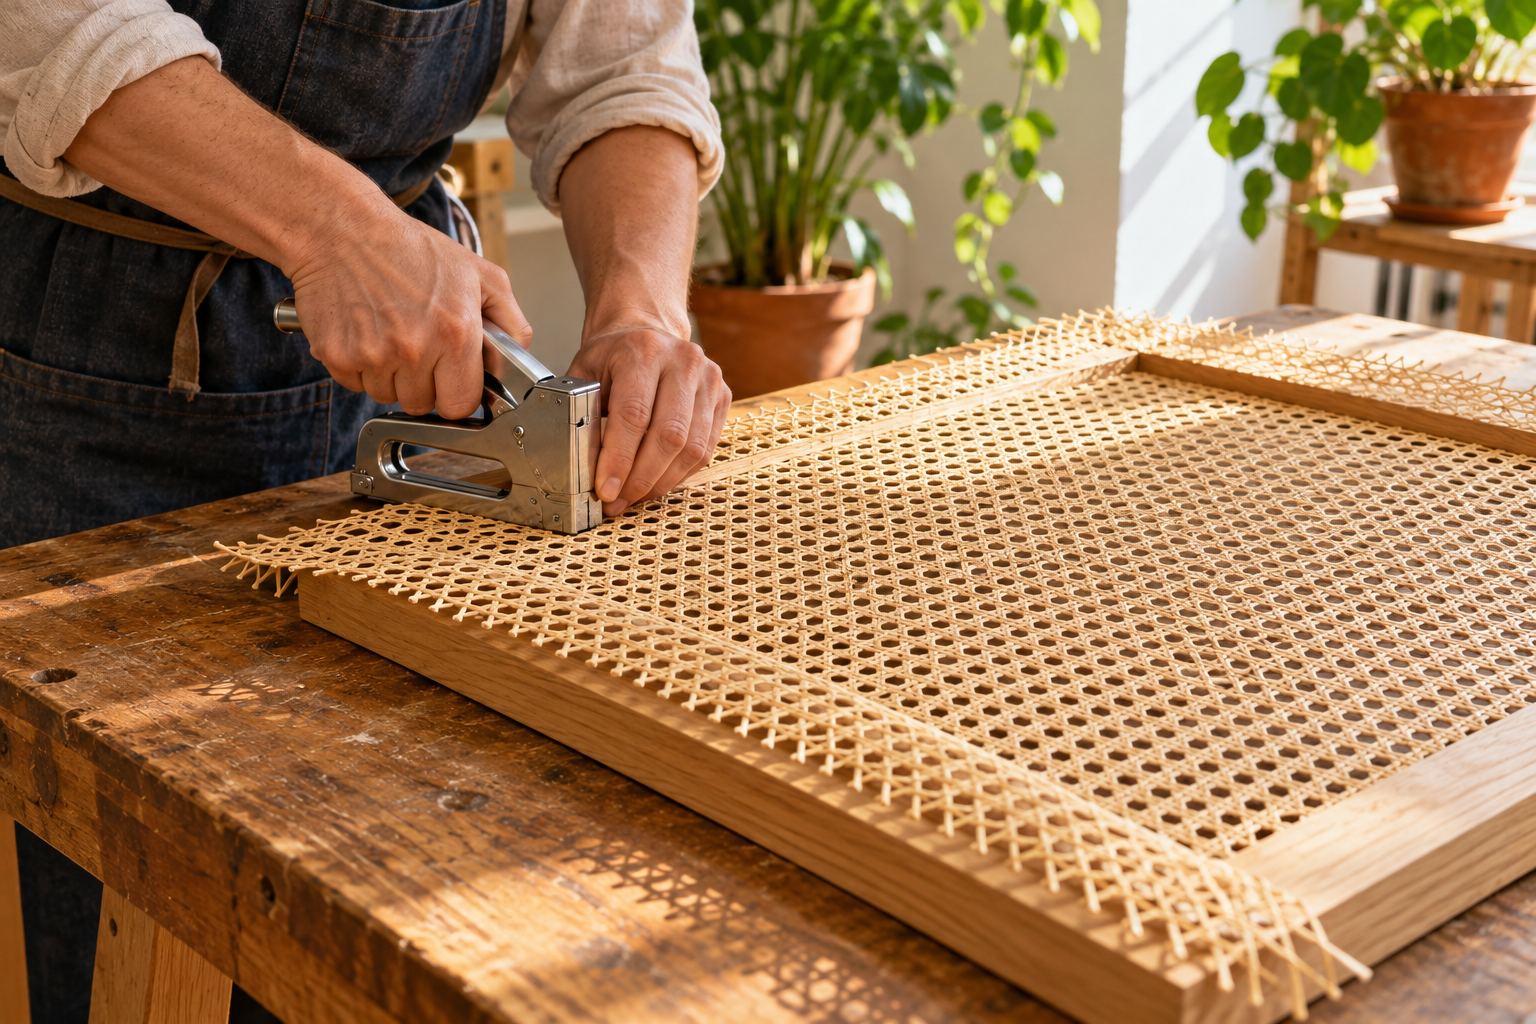
Cane on a cabinet door lightens a heavy run of cabinets and lets air move through, which is why it turns up on sideboards, media cabinets and linen closets. The job is simpler than it looks: open up the center of the door, glue and staple a sheet of cane to the back, and cover the stapled edge with thin trim. No groove, no spline.
This guide covers shaker (frame-and-panel), flat slab and glass-front doors.
What you need
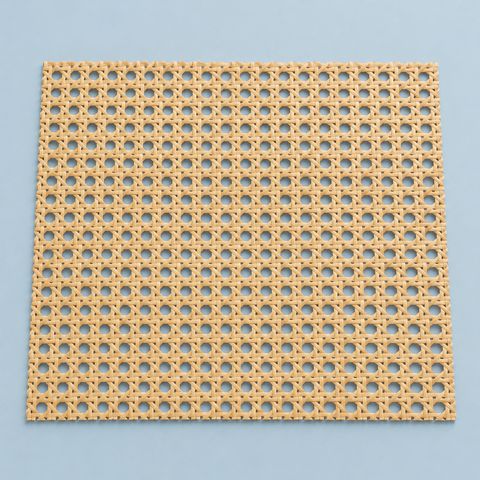
- Natural cane webbing, one piece per door, at least 1 in larger than the opening on every side. Open weave is airy, square weave looks more modern, and closed herringbone hides what is on the shelves.
- Wood glue (PVA)
- A staple gun with 1/4 in staples
- A utility knife, a straightedge and scissors
- Thin trim strip, plus short brads or glue to fix it
- A drill and jigsaw or an oscillating multi-tool; a router with a bearing-guided rabbeting bit if you want a rabbet
- A tub for soaking and some old towels
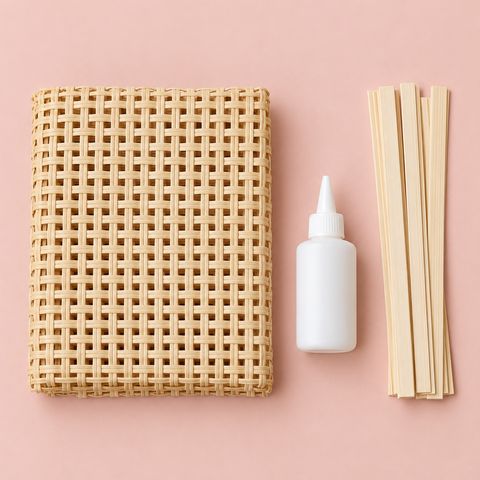
Our cabinet door caning kit has a 24 x 36 in cane sheet, a 4 fl oz bottle of glue and 6 ft of pine trim strip. You supply the staple gun, saw and knife.
Step 1: Measure the opening and size the cane
Measure the opening the cane will fill. On a shaker door that is the inside edge of the frame, not the outside of the door. Measure in two or three places, since doors are rarely perfectly square, and use the largest number.
Add 1 in on every side. An 11 x 17 in opening needs a 13 x 19 in piece. That inch of overlap is what the glue and staples grip.
| Cane piece | Largest opening it covers (1 in overlap all round) |
|---|---|
| 12 x 24 in insert | 10 x 22 in |
| 16 x 30 in insert | 14 x 28 in |
| 20 x 36 in insert | 18 x 34 in |
| 24 x 36 in kit sheet | two openings up to 11 x 17 in, or one up to 22 x 34 in |
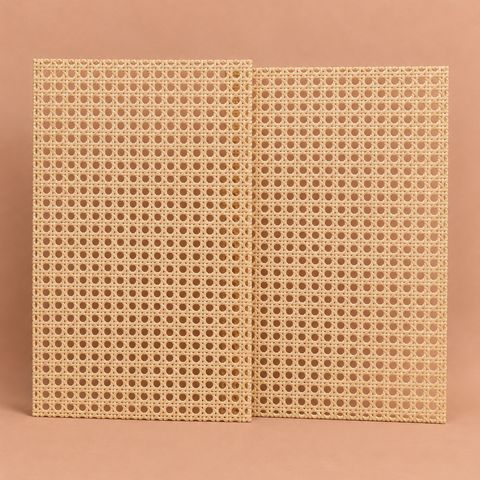
Cane inserts for cabinet doors come as matching pairs cut from the same roll. For odd sizes, a made-to-size cane sheet is cut to the width and height you enter. For a whole kitchen, the roll builder and how much cane webbing do I need help you plan cuts from rolls.
Step 2: Open the center of the door
Shaker (frame-and-panel) doors
The flat center panel usually floats in a groove in the inside edge of the frame. You cut the panel out and keep the frame.
- Take the door off and remove the hinges and knob.
- On the back, draw a cutting line on the panel a little inside the frame all the way round.
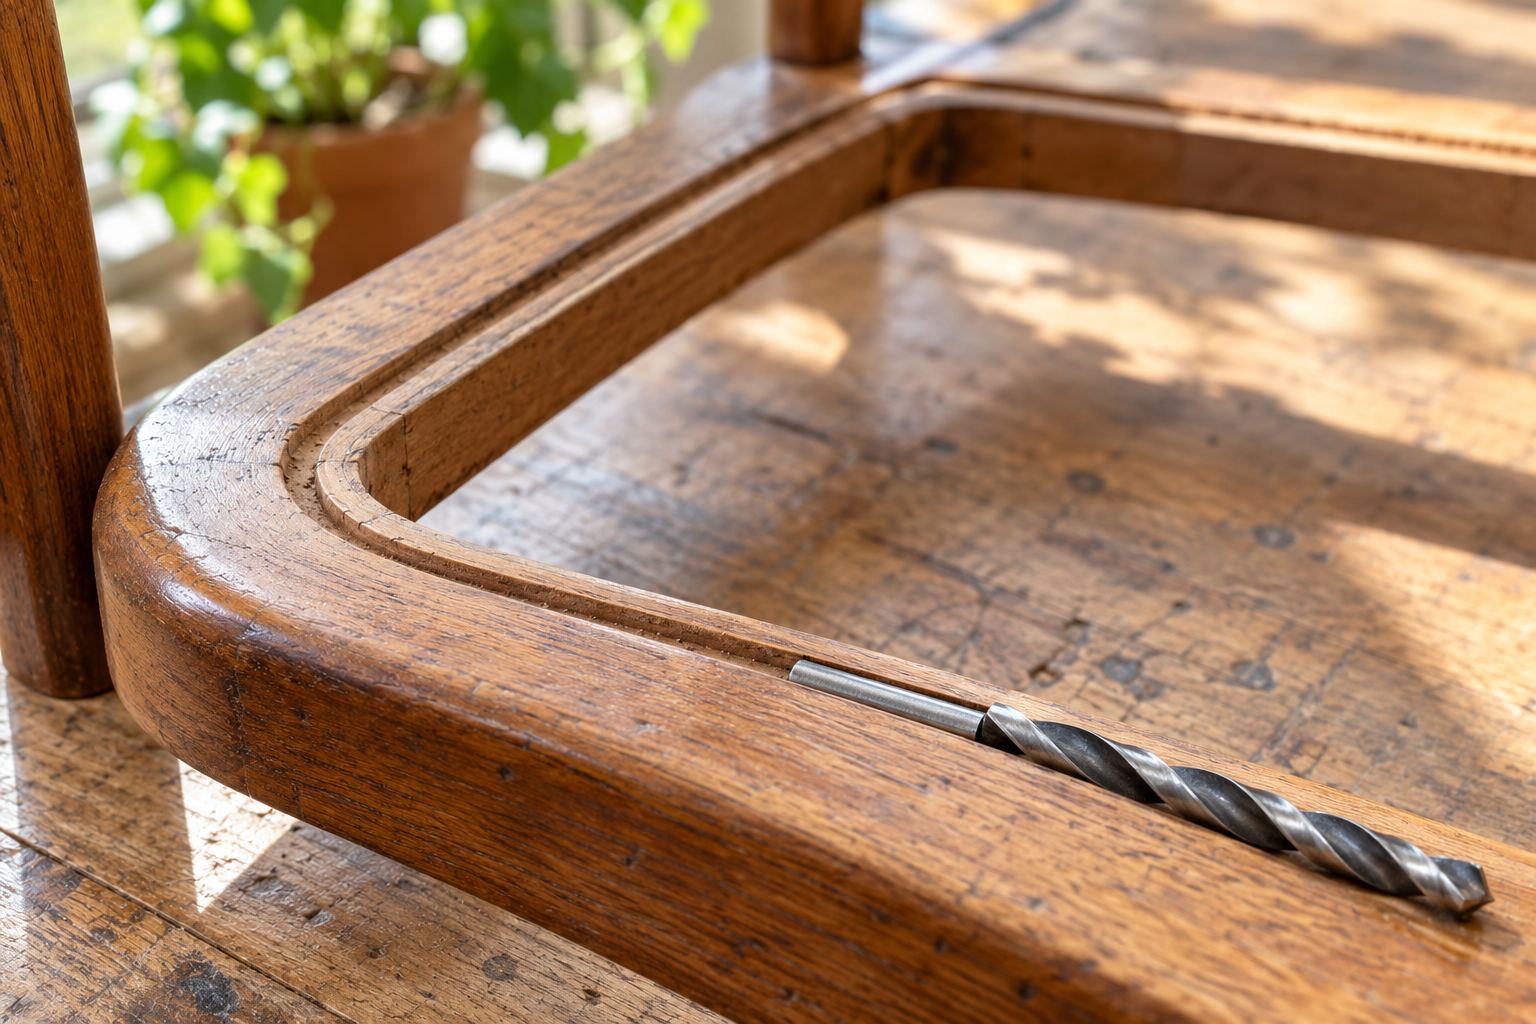
- Drill a hole in each corner inside the line and cut along it with a jigsaw. An oscillating multi-tool is easier to control on thin panels.
- Break the leftover strips out of the groove: score them with a knife, wiggle them, or split them out with a chisel. Some panels have a dab of glue or a brad at the middle of each side; work those loose gently.
- Sand the inside edges of the frame.
Now decide how the cane will sit.
- On the flat back (simplest). Glue and staple the cane straight onto the back of the frame. From the front, the empty groove shows as a thin shadow line around the opening. If you do not like it, glue a thin strip of wood into the groove.
- In a rabbet (cleanest). Run a bearing-guided rabbeting bit around the back of the opening, set just deep enough to cut away the back wall of the old groove. The cane and trim then sit down in a stepped ledge, close to flush with the back, and the front shows one clean edge. Square the router’s round corners with a sharp chisel so the trim fits. Test the depth on scrap first.
Flat (slab) doors
- Draw the opening on the back. Leave a solid border all round, wide enough to look like a frame and keep the door stiff; match the framed doors in the room if there are any.
- Keep the opening clear of the hinge cups and screws on the hinge side.
- Drill a hole in each corner, cut with a jigsaw, and sand the edges smooth. Ease the front edge so it reads as a finished frame.
- On MDF, prime or paint the raw cut edges first. MDF swells when it gets wet.
Glass-front doors
These already have a rabbet. Remove the glass and keep the retaining strips or clips. The cane goes where the glass was, with 1 in of overlap on the rabbet, and the strips go back over it.
Step 3: Cut the cane
Lay the cane shiny side down on a clean table. Use a straight line of the weave as your guide so the pattern runs square to the door, and cut with sharp scissors or a knife against a straightedge. A few loose strands at a cut edge are normal; the trim covers them.
A pair of doors from one roll
Natural cane varies in color from roll to roll. For doors that sit side by side, cut both pieces from the same roll, next to each other, with the weave running the same direction, and pencil “top” on the back of each. For a pair of 11 x 17 in openings, an 18 in wide roll 3.3 ft long gives two 13 x 19 in pieces with a little to spare. Every roll is measured before it ships, so you can plan to the inch.
Step 4: Dry-fit, then soak
Lay each piece on its door, shiny side toward the front, and check the overlap and the pattern before it gets wet. This is the moment to fix a crooked cut.
Then soak the cane in warm water for about 30 minutes. Wet cane is flexible and a little loose; as it dries, it shrinks and pulls tight, which gives you a flat, drum-tight panel. Cane stapled on dry stays as loose as you put it on and tends to ripple over time.
Let it drip, then blot it with a towel. You want it damp, not dripping, especially near MDF or paint.
Step 5: Glue and staple on the back
- Lay the door face down on a towel.
- Run a thin bead of wood glue where the cane will land on the frame or in the rabbet.
- Lay the cane on, shiny side down so it faces the front.
- Staple the center of the top edge. Smooth the cane toward the bottom and staple the center of the bottom edge. Do the same on the two sides.
- Work from the centers toward the corners, a staple every few inches, keeping the strands straight. Add a couple of extra staples near each corner.
- Turn the door over and check the pattern from the front. If a line wanders, pull a staple and reset it.
Do not stretch damp cane hard; it tightens on its own. Wipe off squeezed-out glue with a damp cloth while it is wet.
Step 6: Let it dry, trim, and add the trim strip
Leave the door flat for about 24 hours so the cane dries and tightens. Then:
- Cut off the excess cane with a sharp knife, just inside the outer edge of where the trim will go.
- Measure the perimeter of the opening and cut the trim strip to length, with mitered or butted corners.
- Glue it over the stapled edge and pin it with brads short enough not to come through the face.
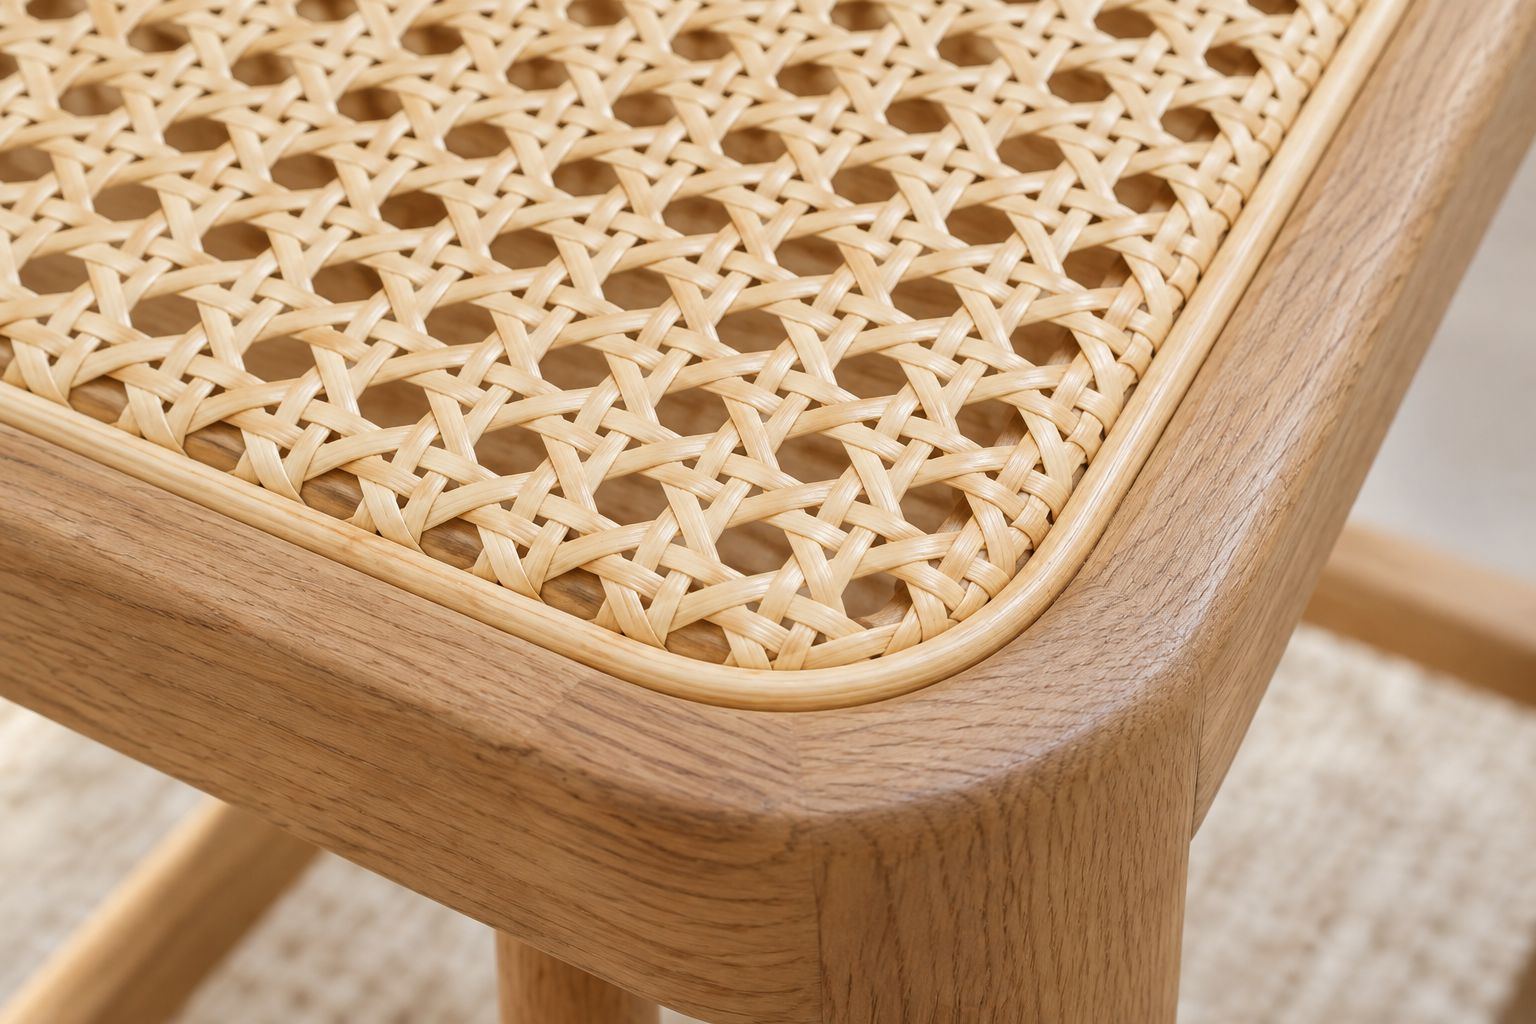
The trim hides staples and cut ends and locks the cane edge so it cannot fray loose. Rehang the door and adjust the hinges.
If you would rather not cut your doors
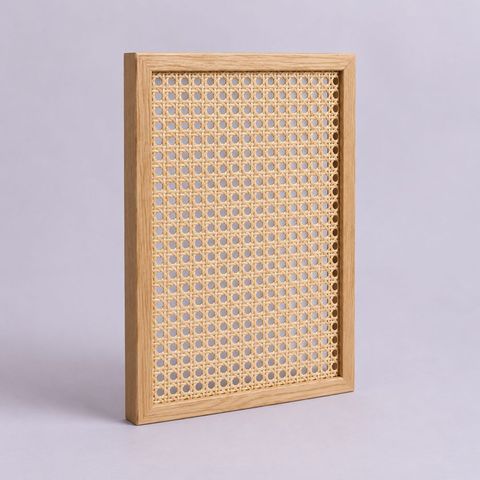
For new cabinets, or doors you do not want to cut, a made-to-size framed cane panel is a solid-wood frame with the cane already set in, built to the width and height you enter. We email a drawing with the final dimensions for you to approve before we cut. The panel builder shows sizes and frame finishes.
For damp spots such as bathroom vanities, use synthetic cane instead; outdoor PE cane vs natural cane explains why. To pick a pattern, see choosing a cane webbing weave, and for upkeep, cane furniture care and repair.